

DIY: Shellac Manicure
Supplies needed:
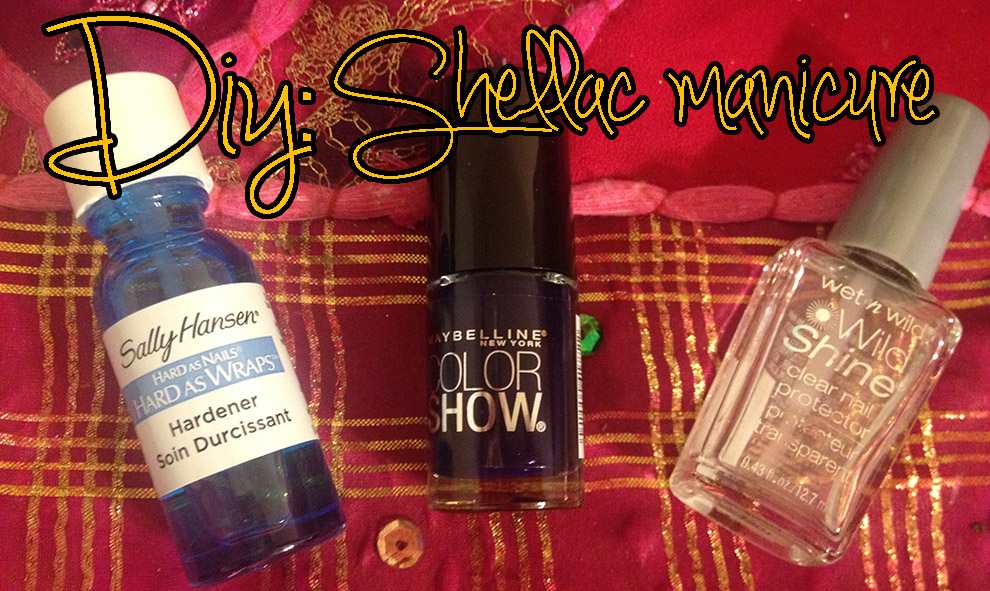
- Sally Hansen’s Hard as Wraps clear hardener
- Polish of your choice
- Clear polish
- Fingernail polish remover (acetone)
- Cotton swab
Step one: Make sure your nails are completely clean and oil free. Use fingernail polish remover to take off any old paint.
Step two: Brush on one (or two) base-coat(s) of Sally Hansen’s hardener and let it dry.
Step three: Paint one or two layers of the color of your choice and let it dry.
Step four: Apply the top layer of clear nail polish and let dry.
Step five: Using the cotton swab and acetone, clean up any polish that got onto the skin.
Step six: Let the manicure dry, and apply another top coat if needed.
Sally Hansen’s Hard as Wraps polish can be found in the beauty section of most department stores for approximately $5. The polish creates a hard base coat that is similar to a shellac manicure. The thicker you want your nails to be, the more base coats you put on. I typically do one or two. Depending on the brand, the main coat and top coat could cost as little as $2, making this manicure less than half the price of a manicure from a salon.


